The Blooming Joy Journal
Digging, Dividing and Transplanting Daffodil Bulbs into a Grassy Field
 Facebook
Pinterest
Email
Threads
Facebook
Pinterest
Email
Threads
This blog post contains affiliate links that allows me to help provide you with helpful garden related items related that goes along with this blog post. I may make a small commission from purchases through my links. I appreciate you and look forward to speaking more flower joy.
Dividing the Abundance of Daffodil Bulbs
There’s something truly special about daffodils—the way they’re often one of the first flowers to bloom after a long winter, signaling that spring has truly arrived. I have planted over 10,000 daffodil at my farm and I can officially say they are my favorite flower. The bulbs love our Tennessee clay soil and tend to multiple really well. Plant a few daffodil bulbs now and in a few years, you will have many more to scatter around your gardens.
Over time, daffodil clumps can become crowded, leading to fewer blooms. The good news? With a little digging, dividing, and replanting, you can revitalize your daffodil display and even expand it to new corners of your garden. In this post, I’ll walk you through exactly how to dig up, divide, and transplant your daffodils to keep them healthy, happy, and blooming beautifully for years to come.
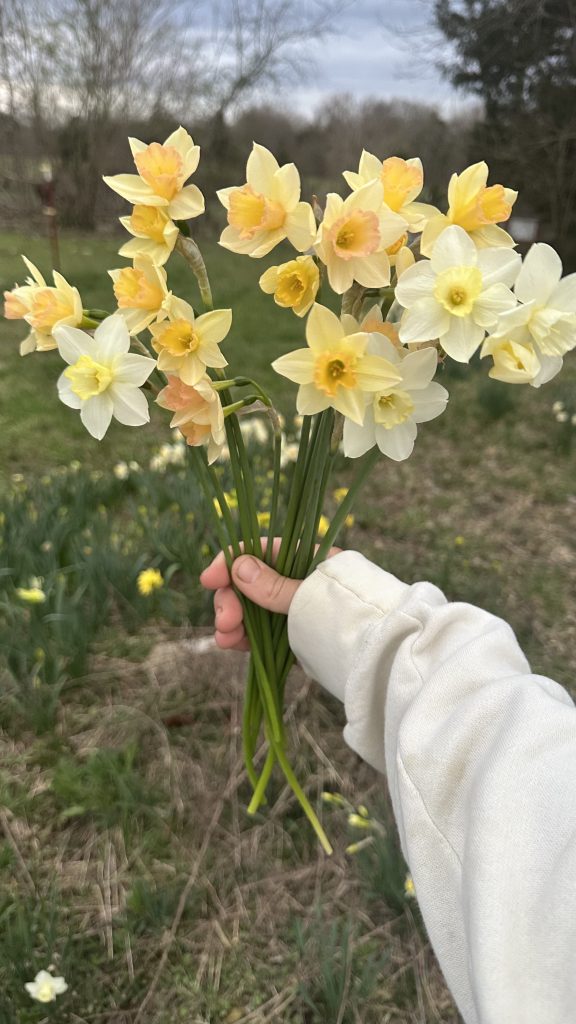
When do you dig up daffodils?
The official answer, if you look it up on the internet, is after the foliage has died back. When allowing the foliage to completely die back before you divide, the blooms will likely appear like normal the next year. I don't follow this rule though.
I prefer to dig up and divide daffodils when I can see them. This means I am sometimes digging them up when in bloom or just after blooming. It really doesn't hurt the daffodils but it could mean the blooms may not be 100% up to par next year. We have interrupted their natural bloom cycle and dying down process. That is ok though- the blooms will be right on schedule the following year.
Step-by-Step Digging, Dividing and Transplanting Process
Daffodils are pretty tough as nails plants, in my book. It is fairly easy to dig up, divide and transplant daffodils but there are a a few key things to know. Let's dig into that now!
Want to see a video of how I dig up, divide and transplant daffodils?
Check out my YouTube video too!
Watch the YouTube VideoDetermine what clump of daffodils you want to divide.
There are a few reasons you why you would want to consider digging up and dividing your daffodils.
- You are finding that your daffodils aren't blooming prolifically anymore. The bulbs may have multiplied so much that they are now overcrowded. This can cause the plant to not bloom well.
- If you are finding your daffodils aren't blooming well, your bulbs could either be too shallow or too deeply planted. The rule of thumb with planting daffodils is planting a depth of 3x the bulbs height.
- You want to either remove the bulbs from the area they are planted OR you want to divide the bulbs to add to new areas. This is the reason I am digging up and dividing my daffodil bulbs today.
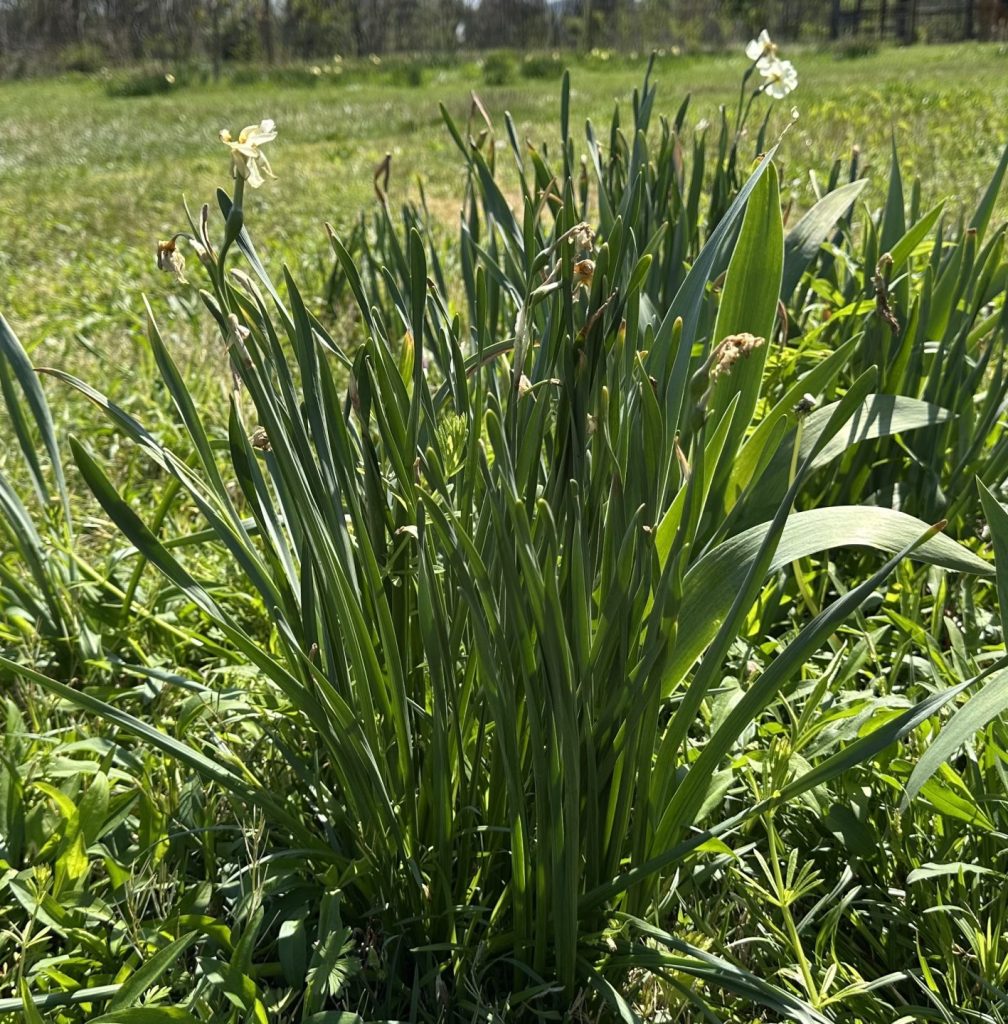
Dig a wide hole around the daffodils.
It is really important that you don't dig too closely to the daffodil and accidentally slice a bulb. Digging a wide hole will help keep your bulbs safe. Better to dig too far away than too close!
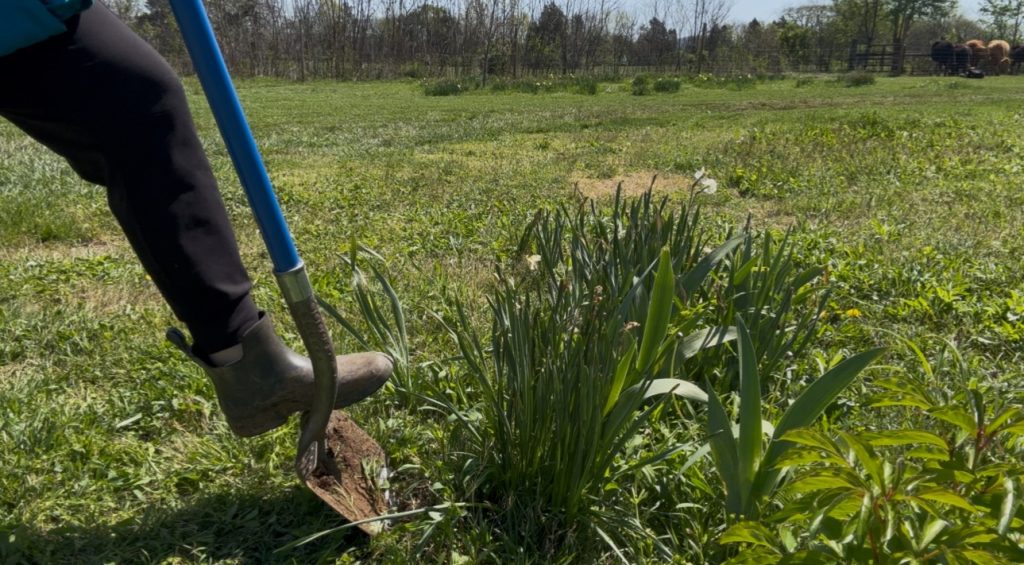
Remove the clump.
Once you have dug a hole around your daffodil, gently lift the clump out of the ground. I like to remove as much grass as I can from the clump because it can the quite heavy at first. This will also help me be able to find the daffodil bulbs to divide.
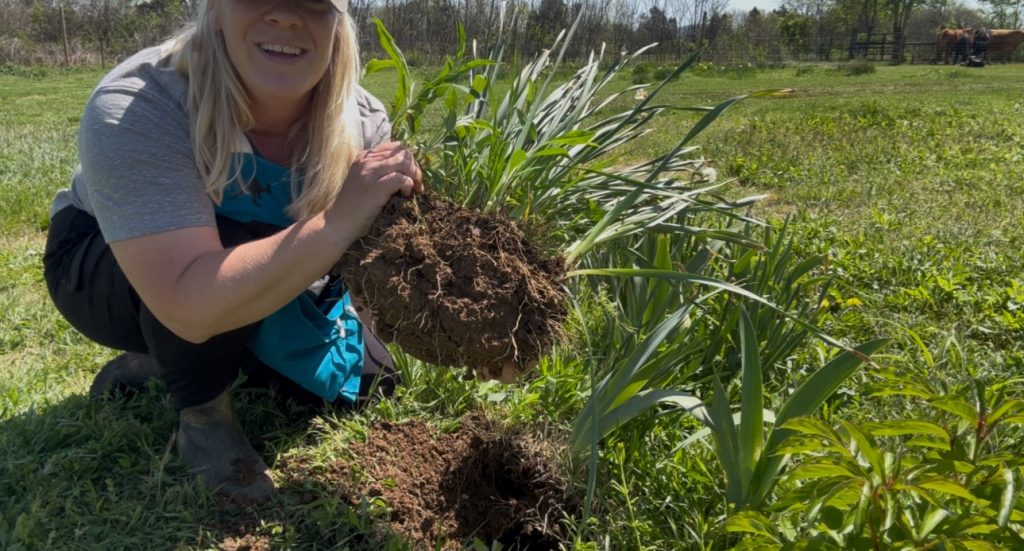
Divide the Daffodils.
After finding a daffodil bulb, gently wiggle the bulb while ensuring the foliage stays attached. Generally, the bulb will naturally detach itself from the clump. Sometimes I like to drop the clump a few times to loosen everything (like I show in the YouTube video) and this helps the bulbs detach as well. I am not dropping it too hard though as I don't want to damage the bulbs! I like to keep the "mother" bulb and any small baby bulbs attached together. You can split them but I'm usually dealing with so many daffodil bulbs at once that I just leave them to let the babies grow bigger.
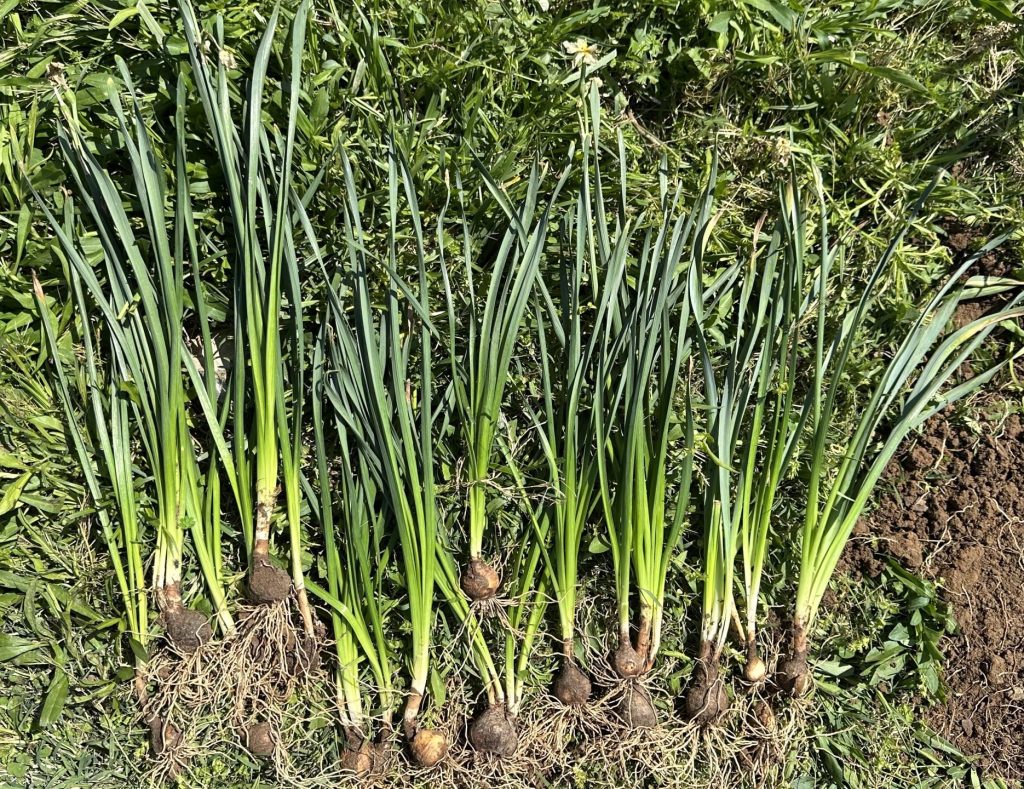
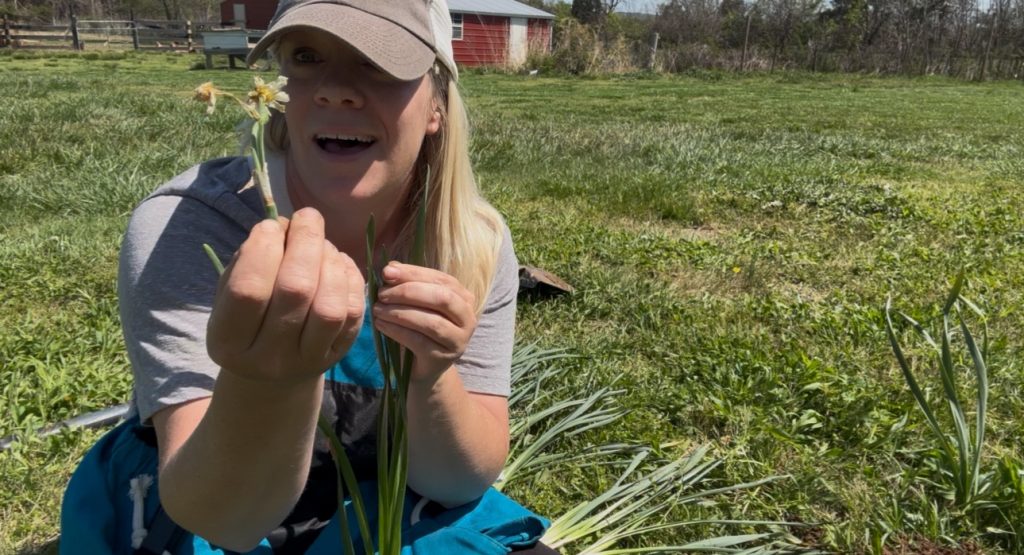
Remove any flowers after dividing the clump.
I like to remove any spent flowers after dividing the clump. I don't want the bulb to put energy into forming seeds. I'd rather the bulb focus it's energy on root development after transplanting.
Transplant the bulbs.
I like to immediately transplant the bulbs after dividing clumps for best success. I also usually have way too many farm and garden tasks to do and if I don't do it now, I may forget about them! I don't want the bulbs to dry out and all my hard work is ruined.
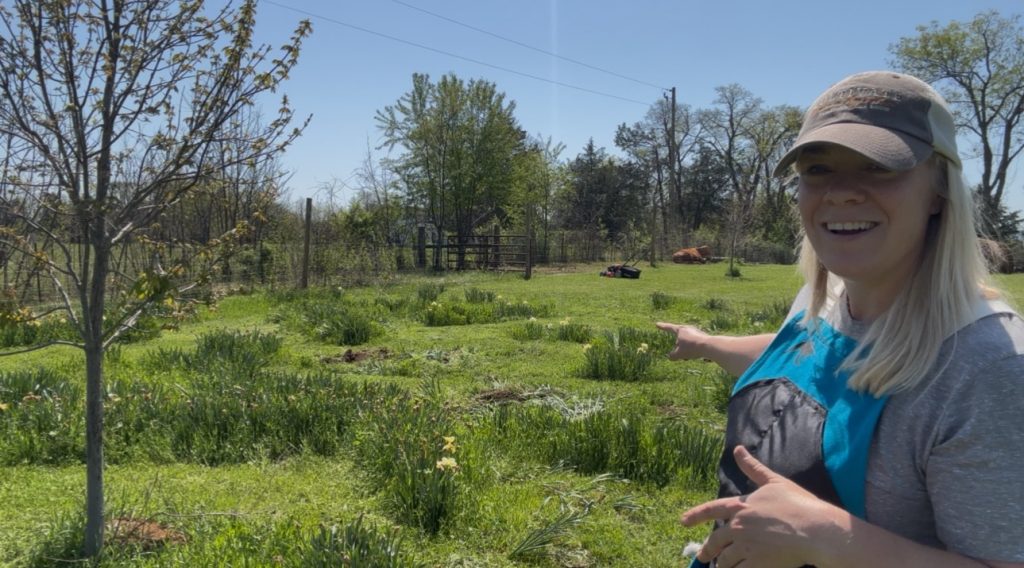
Re-planting in a grassy area.
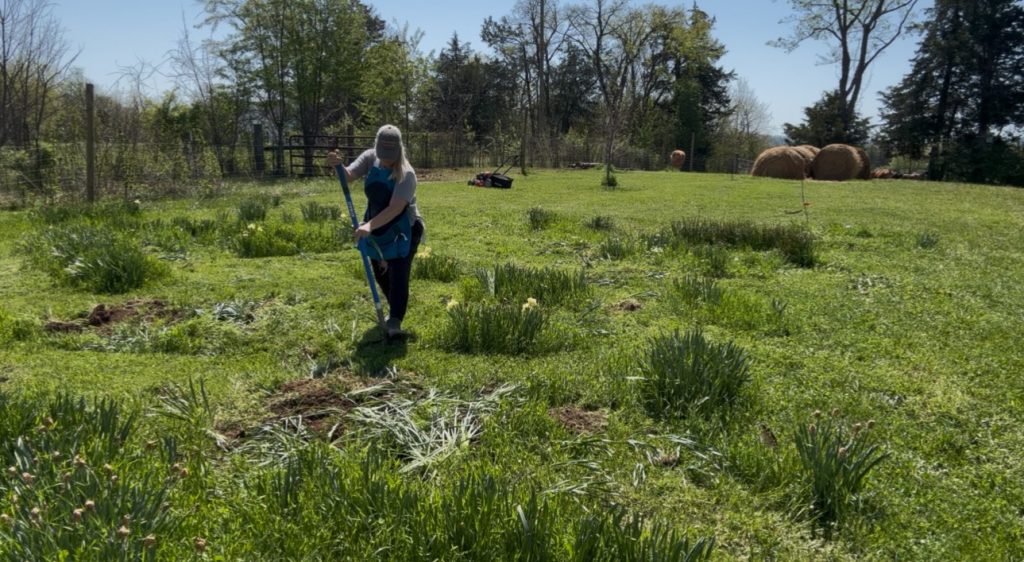
I love for daffodils to have a natural feel in the field I plant them in. I like to take a shovel and not even dig a formal hole- I just open the ground wide enough to where I can stick 2-3 bulbs in. I generally like to plant in 3's but I keep the bulb size in consideration when planting in this opening. I want to make sure the bulbs have enough room to multiply.
Where is your garden apron from?!
The blue apron I am wearing while digging up and transplanting daffodils has been a favorite garden accessory of mine since 2018. It is much different than your regular kitchen apron. The apron that I'm wearing, The Roo Apron, is made of a material that keeps me dry and clean as I work with plants. This apron also has several pockets that I utilize. You can watch a YouTube video of what I keep in this apron. There is a reason I have faithfully worn this apron since 2018!
Shop The Roo ApronUse my Discount Code BLOOMINGJOY for 10% off your Roo Apron!
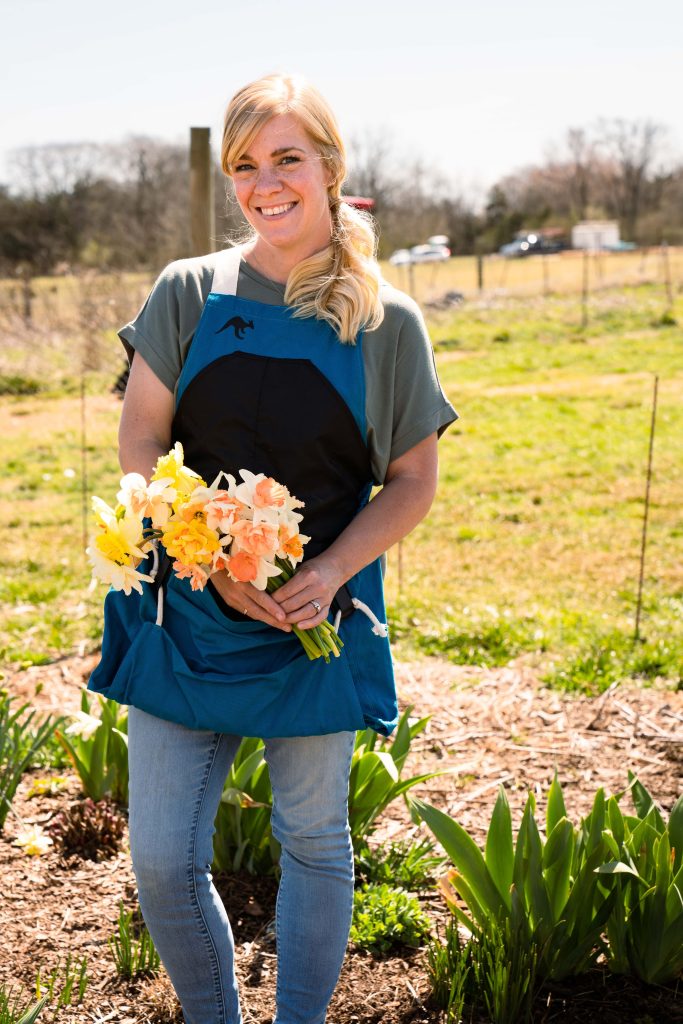
Planting daffodils right in the grass!
No need to make a manicured garden bed for them when you are trying to plant a natural looking field of them.
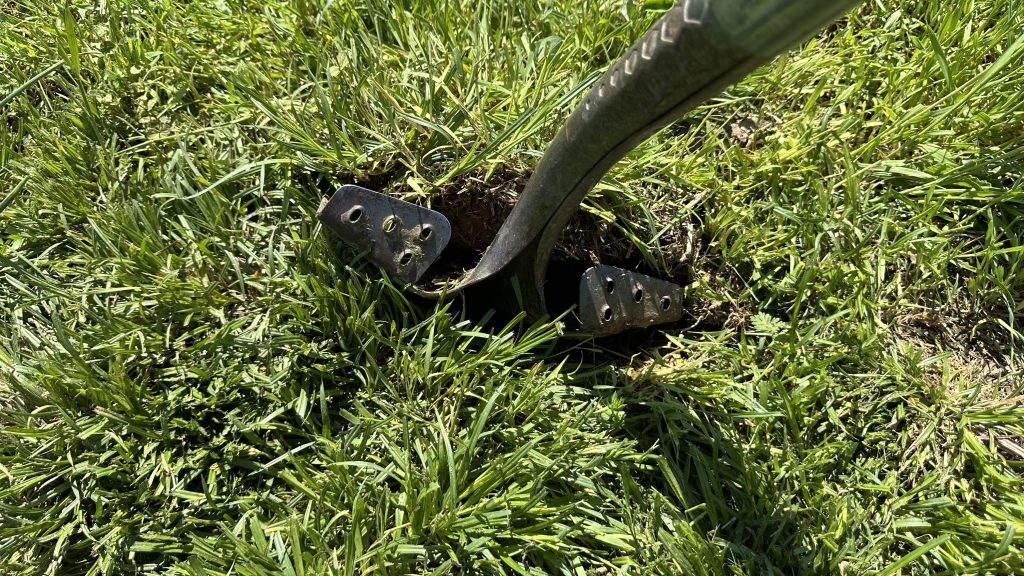
Plant 2-3 Daffodils per Shovel Opening (hole!)
Daffodils need room to multiple so make sure to give them a few inches between the bulbs!
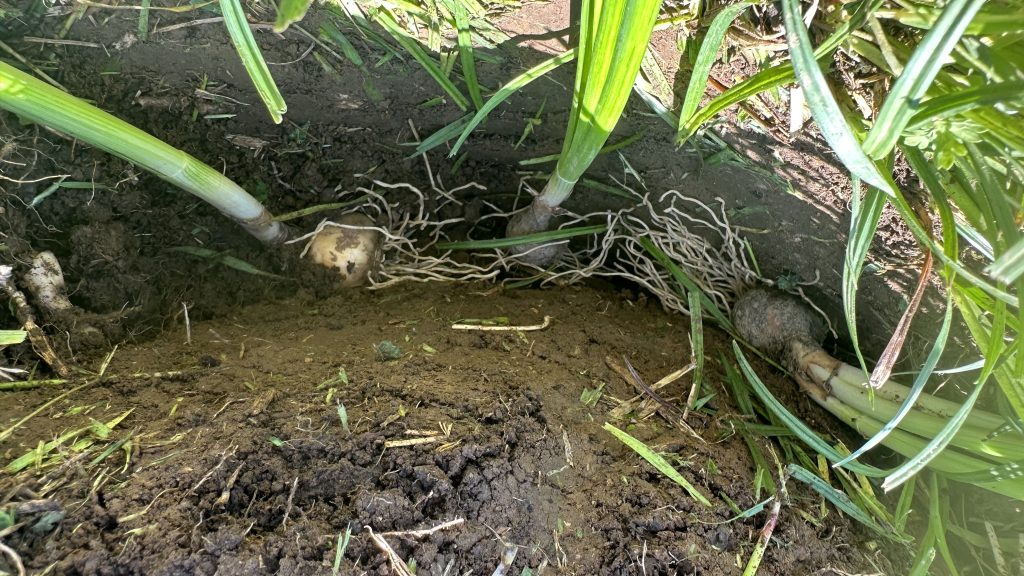
Cover and water in!
Once I have the bulbs in my shovel opening in the ground, I place the grass back over them and give it a light stomp with my feet. I like to give the bulbs water after I replant them as well. Anytime you dig up and divide daffodils, the foliage tends to flop over. This is normal. By next year, the foliage will grow straight again!
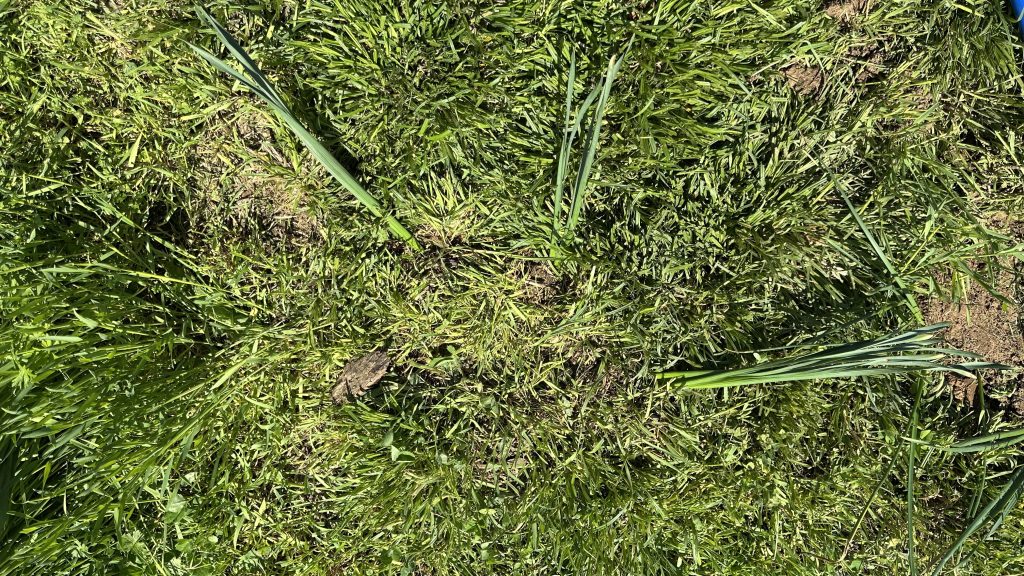
How long do you leave the foliage?!
It is really important that daffodil foliage are allowed to yellow and die back. This can take a good 6 weeks. I know, it can sometimes look unsightly after awhile but this is when the bulb is absorbing energy from the leaves. What is happening now is setting up the daffodil for beautiful blooming success next year! After the foliage completely yellows or browns, I will give this grassy area a good mow. The daffodils will lay under the ground all year until it is time for them to emerge again next winter and Spring!
Just keep planting, just keep planting!
I will go through this field and fill in with several transplanted daffodils. I am adding varieties that aren't in this field to give it even more character in the future!
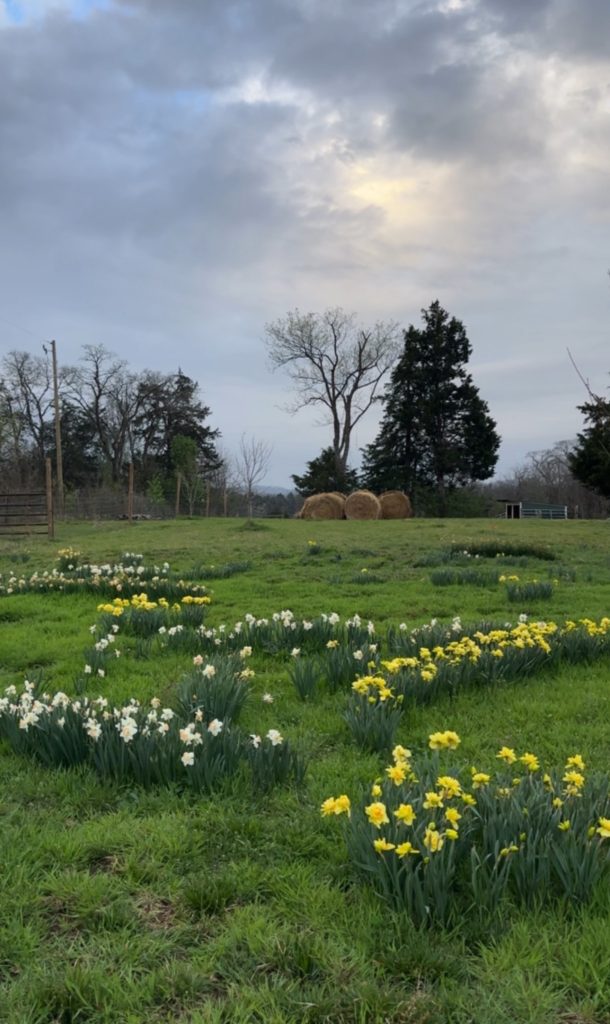
This Daffodil field a few weeks ago.
Here is a snapshot of what this space looked like a few weeks ago. I already miss these beautiful blooms but I am looking forward to seeing how this field transforms in the future with the addition of the new bulbs!
Want to watch this whole process? Check out my YouTube video below of how I dig, divide and transplant daffodil bulbs!
https://youtu.be/qAoUrWZvnz8Related Blog Posts & YouTube Videos:
How to Harvest Daffodils (Blog)
Digging, dividing and transplanting Daffodils (YouTube video)
Participating in a Daffodil Judging Show (YouTube Video)
What's in my Roo Apron as I Work on the Farm & Garden (YouTube Video)
Looking for a beautiful book on Daffodils? Check out this new Daffodil book release that I've added to my flower book list in my Amazon Storefront!
My Amazon Storefront Cut Flower Book LibraryDividing and transplanting daffodils is one of those simple garden tasks that pays off for seasons to come. It not only keeps your bulbs thriving but gives you the chance to spread that cheerful spring color around your garden—or even share bulbs with a friend. With just a little effort and the right timing, your daffodils will reward you with an even more stunning show year after year. So grab your shovel, embrace the dirt, and enjoy the beauty you’re cultivating, one bulb at a time.
🌼 Want more tips for growing a thriving flower garden?
Join my email list for seasonal growing guides, free resources, and behind-the-scenes updates from the farm: Let's stay connected here!
Or check out my eBooks for help on starting your own cut flower garden: The Flower Shop Page