The Blooming Joy Journal
5 Common Mistakes to Avoid When Harvesting Cut Flowers
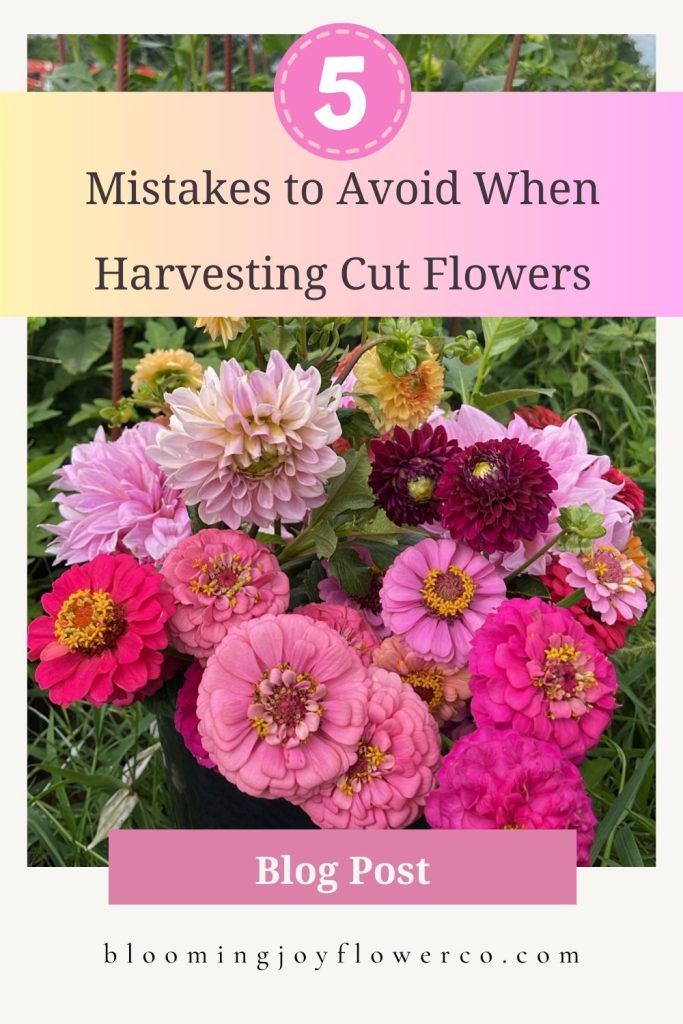
Harvesting flowers might seem simple, but a few small mistakes can make a big difference in how long your blooms last. Whether you're growing flowers for your home, a farmers market, or special bouquets, here are 5 common mistakes to avoid when harvesting cut flowers and what you can do instead!
Disclosure: Some links in this blog post are affiliate links! If you make a purchase through the links, I’ll earn a small commission & you’ll make my day a whole lot brighter! This helps me keep my blog up and running and I appreciate you so much!
1. Harvesting at the Wrong Time of Day
Cutting flowers in the heat of the afternoon can stress your plants and often results in blooms that wilt more quickly in the vase. For the longest vase life, harvest flowers early in the morning or late in the evening when temperatures are cooler and plants are fully hydrated.
One of my favorite parts of a cut flower garden is harvesting during these quieter times of the day. There is something so peaceful about walking through the garden at sunrise with a bucket in hand or gathering blooms as the sun sets over the garden.
To improve your harvest success, keep these tips in mind:
- Harvest flowers before temperatures begin to climb.
- Bring a clean bucket filled with cool water into the garden.
- Place stems directly into water after cutting.
- Use sharp, clean snips to prevent crushing stems.
- Move harvested flowers into a cool, shaded area as quickly as possible.
- Avoid leaving cut flowers sitting in direct sunlight.
My Favorite Harvest Tools
Having the right tools makes harvesting easier and helps keep flowers fresh longer. Some of my most-used harvesting supplies include:
- Floral harvest snips
- Garden harvesting apron
- Flower buckets
- Flower food packets
- Stem stripper tool
- Garden kneeling pad
You can find all of my favorite flower harvesting tools and garden essentials in my Amazon Storefront.

2. Waiting Too Long to Harvest
One of the most common mistakes beginner flower growers make is waiting too long to harvest their blooms. While it's tempting to wait until a flower is fully open and showing off all its beauty in the garden, that often means you've missed the ideal harvest window for the longest vase life.
Every flower has a specific stage when it should be cut. Harvesting at the proper stage allows the bloom to continue opening in the vase while maximizing its longevity in arrangements.
In many cases, flowers should be harvested before they are fully open. This helps ensure the blooms last longer and travel better from the garden to the vase.
Signs You May Be Waiting Too Long
If you're noticing any of these issues, you may be harvesting too late:
- Flowers dropping petals shortly after cutting
- Blooms shattering in the vase
- Short vase life
- Wilted flowers within a day or two
- Flowers that appear overmature when arranged
Common Harvest Stages for Popular Cut Flowers
While every flower is different, here are a few general guidelines:
- Harvest when stems pass the "wiggle test."
- Hold the stem about 8 inches below the bloom and gently shake it.
- If the stem remains stiff and upright, it's ready to cut.
Check out this Zinnia Growing Checklist blog I wrote to help you grow great zinnias!
- Harvest when petals are beginning to unfurl but before the flower is fully open.
- Harvest when blooms are fully colored and feel firm.
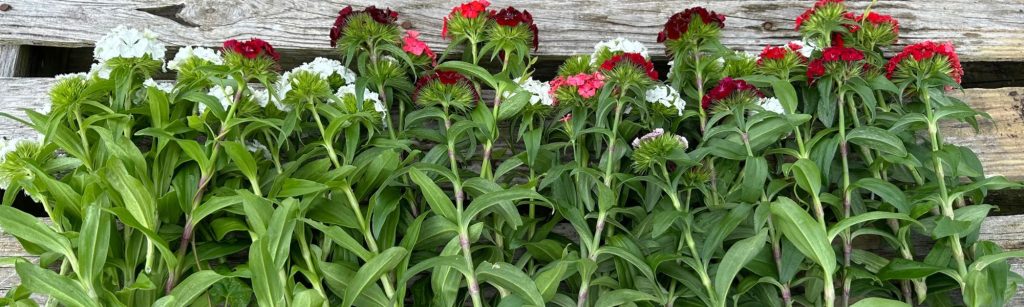
- Harvest when the flower is just beginning to open.
If you are new to growing a cut flower garden download my free beginner cut flower garden guide! Get started with 3 of the best flowers to grow for a beginner cut flower garden. It's the 3 I started with and gave me the confidence to learn about growing many more cut flowers!
Get to Know Your Flowers
The best thing you can do as a flower grower is learn the ideal harvest stage for each flower you grow. What works for a sunflower may be completely different for a zinnia or snapdragon.
Over time, you'll begin to recognize the subtle signs that a bloom is ready for cutting. Until then, keep notes, take photos, and don't be afraid to experiment.
My Favorite Harvest Resources
Understanding harvest stages completely changed the quality of my bouquets and dramatically improved vase life. If you're growing flowers for arrangements, I highly recommend keeping a harvest guide nearby in the garden.
Some helpful resources include:
- A garden journal for recording bloom stages
- A flower harvest cheat sheet
- Plant tags with bloom dates
- Photos saved on your phone for reference
Learning when to harvest may seem like a small detail, but it can make the difference between flowers that last two days and flowers that last more than a week in the vase.

3. Overcrowding Your Harvest Bucket
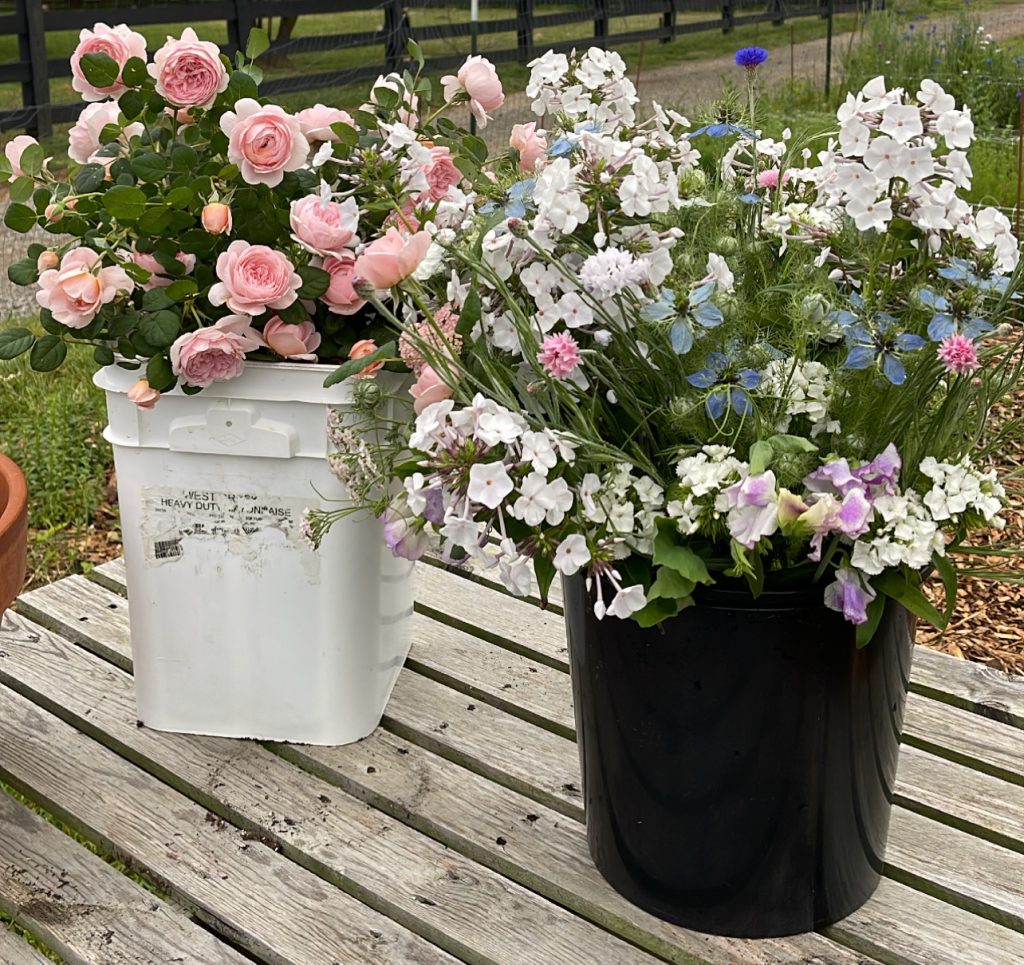
One mistake that often gets overlooked when harvesting flowers is overcrowding your bucket. It might not seem like a big deal in the moment, especially when the garden is overflowing with blooms, but packing too many stems into one container can actually shorten vase life and damage your flowers before you even get them inside.
When stems are tightly packed together, petals get bruised, blooms get crushed, and air circulation is reduced. This creates the perfect environment for bent necks, broken stems, and premature wilting. Even flowers that were cut at the perfect stage can suffer if they’re jostled and compressed during harvest.
Giving your flowers space is just as important as giving them water.
Why bucket space matters
- Prevents petals from bruising or crushing
- Reduces stem breakage during transport
- Improves airflow around blooms
- Helps flowers stay more upright and supported
- Keeps different varieties from tangling or getting damaged
A better way to harvest
Instead of using one large, overloaded bucket, I like to use multiple smaller buckets or divide flowers by type and stem length. Taller, heavier blooms like sunflowers and zinnias go in their own bucket, while more delicate flowers like cosmos or snapdragons get their own space.
It might feel like an extra step in the moment, but this simple adjustment makes a noticeable difference in how fresh and beautiful your bouquets look once you begin arranging them.
A little extra space in the bucket always translates into a lot more beauty in the vase.

4. Skipping Post-Harvest Care
Proper post-harvest care can make the difference between flowers that last only a few days and flowers that stay fresh in a vase for a week or more.
The moment a flower is cut from the plant, the clock starts ticking. Flowers immediately begin losing moisture, so it's important to get them into water as quickly as possible. I always bring a bucket of clean, cool water into the garden with me and place stems directly into the bucket as I harvest. I also try and keep this bucket in a shady part of the garden (if available!) while I harvest flowers.
Just as important as getting flowers into water is keeping them cool. Avoid setting harvested flowers in direct sunlight or leaving them in a hot vehicle. Instead, move them to a shaded, cool location while you continue harvesting.
Don't Forget to Remove Excess Foliage
One of the biggest mistakes I see beginner flower growers make is leaving too many leaves on the stem after harvesting.
While those leaves may look beautiful in the garden, they compete with the flower bloom for water. Since the flower head is the furthest point from the cut end of the stem, it's often the last part of the plant to receive hydration. Excess foliage can slow water movement and contribute to wilting.
As a general rule, I remove most of the lower leaves and leave only the top one-third of foliage on the stem.
Benefits of removing excess leaves include:
- Improved water uptake
- Longer vase life
- Less wilting after harvest
- Cleaner bouquet stems
- Reduced bacterial growth in vase water
Additional Post-Harvest Tips
To keep your flowers looking their best:
- Use clean buckets and vases.
- Change water regularly.
- Recut stems before arranging.
- Remove any foliage that would sit below the water line.
- Keep flowers away from direct sunlight and heat sources.
- Use flower food when possible.
- If making a market bouquet, wrap the bouquet properly to not squish the flowers.
How to Revive Wilted Flowers
If your flowers begin to wilt shortly after cutting, don't panic. Many stems can recover with a little extra care.
Try these steps:
- Remove additional foliage from the stem.
- Give the stem a fresh angled cut.
- Place the flowers into clean, cool water.
- Move them to a cool, shaded location for several hours.
- Allow the flowers time to fully rehydrate before arranging.
I've been surprised by how many flowers have bounced back after simply removing excess leaves and giving them a fresh cut. Sometimes a wilted flower isn't ruined, it just needs help getting water where it needs to go.
5. Not Conditioning Flowers After Cutting
One of the most overlooked steps in flower harvesting happens after the flowers are cut. Many gardeners are eager to start arranging their blooms right away, but taking the time to properly condition your flowers can dramatically improve both vase life and overall bouquet quality.
Conditioning simply means allowing freshly harvested flowers to rest in clean water for several hours, or even overnight, before arranging them. During this time, the stems rehydrate, recover from harvest stress, and become stronger and more resilient.
I like to place my freshly harvested flowers in buckets of clean water and move them to a cool, dark location such as a dark spot in an air-conditioned room. This resting period gives the flowers a chance to fully drink up before they are arranged into bouquets.
Why Conditioning Matters
Conditioning your flowers can:
- Increase vase life
- Reduce wilting
- Improve stem strength
- Help blooms open properly
- Create longer-lasting bouquets
- Improve customer satisfaction if you're selling arrangements
Skipping this step often results in flowers that look beautiful initially but fade much more quickly once arranged.
Conditioning Helps You Identify Problem Stems
Another benefit of conditioning is that it acts as a quality check for your flowers.
Not every stem harvested from the garden will perform perfectly. Occasionally, you'll have stems that were cut too immature, damaged during harvest, or aren't taking up water properly.
Allowing flowers to hydrate for several hours gives you time to identify any problem stems before they end up in an arrangement.
Watch for stems that:
- Continue to wilt after being placed in water
- Have bent necks
- Feel limp or soft
- Fail to hydrate alongside the rest of the flowers
If a stem isn't recovering during the conditioning process, it's often best to remove it from your bouquet.
My Simple Conditioning Routine
After harvesting flowers, I follow these basic steps:
- Remove excess foliage from the lower portion of the stems.
- Place stems immediately into clean, cool water.
- Move buckets to a cool, shaded location and indoors asap.
- Allow flowers to rest for at least 4–6 hours, preferably overnight.
- Recut stems if needed before arranging.
This simple routine has helped me create stronger, longer-lasting bouquets and has saved me from including wilt-prone stems in arrangements.
Tip
If you're creating bouquets for a market, event, or customer, never skip the conditioning process. Flowers that have been properly hydrated and rested will almost always outperform flowers that were harvested and arranged immediately.
A few extra hours of patience can mean several extra days of vase life for the person receiving your bouquet.
Final Thoughts
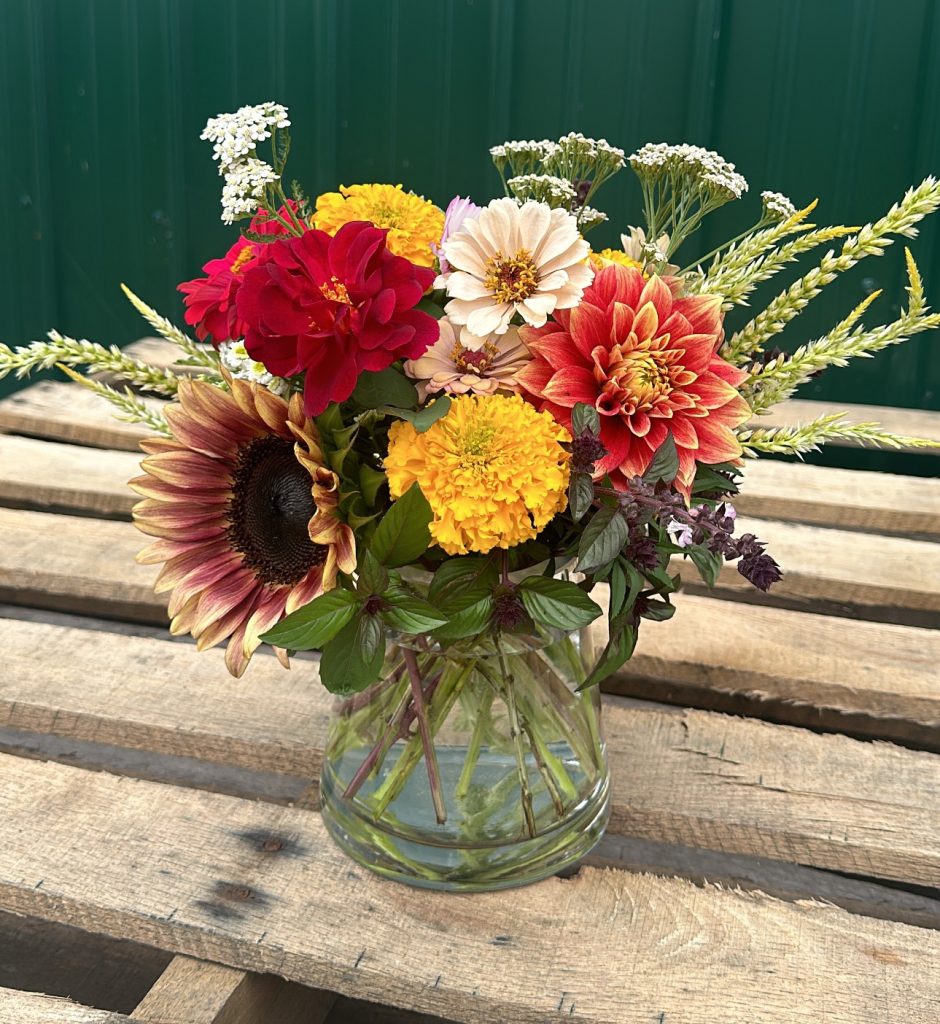
Harvesting flowers may seem simple, but a few small mistakes can dramatically shorten the vase life of your blooms. By harvesting at the right time of day, cutting flowers at their ideal stage, providing proper post-harvest care, and allowing stems to condition before arranging, you'll enjoy healthier flowers and longer-lasting bouquets.
The good news is that every flower grower learns through experience. Don't be discouraged if a bouquet doesn't last as long as you hoped. Each season teaches us something new, and with a few simple adjustments, you'll soon be harvesting armloads of beautiful blooms that stay fresh for days.
Remember, growing flowers is about more than creating beautiful bouquets, it's about slowing down, spending time in the garden, and finding joy in the process. Keep learning, keep growing, and most importantly, keep on blooming!
Growing a Cut Flower Garden
New to growing a cut flower garden and looking for a place to start? Here are a few helpful resources:
- Download my free Beginner Cut Flower Garden Workbook
- Blog Post: 10 Seeds to Direct Sow for an Easy Cut Flower Garden
- Buying Seeds? Enjoy 5% off from the Botanical Interests website using my code: BLOOMINGJOY
- Blog Post: Planning Your Cut Flower Garden
- Looking for books, tools and garden related items? I've created lists especially for you in my Amazon Garden Storefront.
Amazon Garden Lists include:
- Garden Supplies & Tools
- Seed Starting Supplies
- Gift Ideas for Gardeners,
- Cut Flower Growing Books
- Wrapped Bouquet Supplies
- Seed Saving
Cut Flower Seed Starting Schedule E-book
Over the years, I've been asked my seed starting schedule for a cut flower garden. I start many seeds in the fall and winter for Spring cut flowers. I've written an e-book on my specific seed starting schedule for a cut flower garden (living in Tennessee, Zone 7, first frost date 10/15, last frost date April 15). This e-book takes you through the months of what I am planting along with other important things to know.
Cut Flower Seed Starting Schedule E-book https://youtu.be/ttg9cwLBYzU?si=QnJOCwvn1gZm_nd8